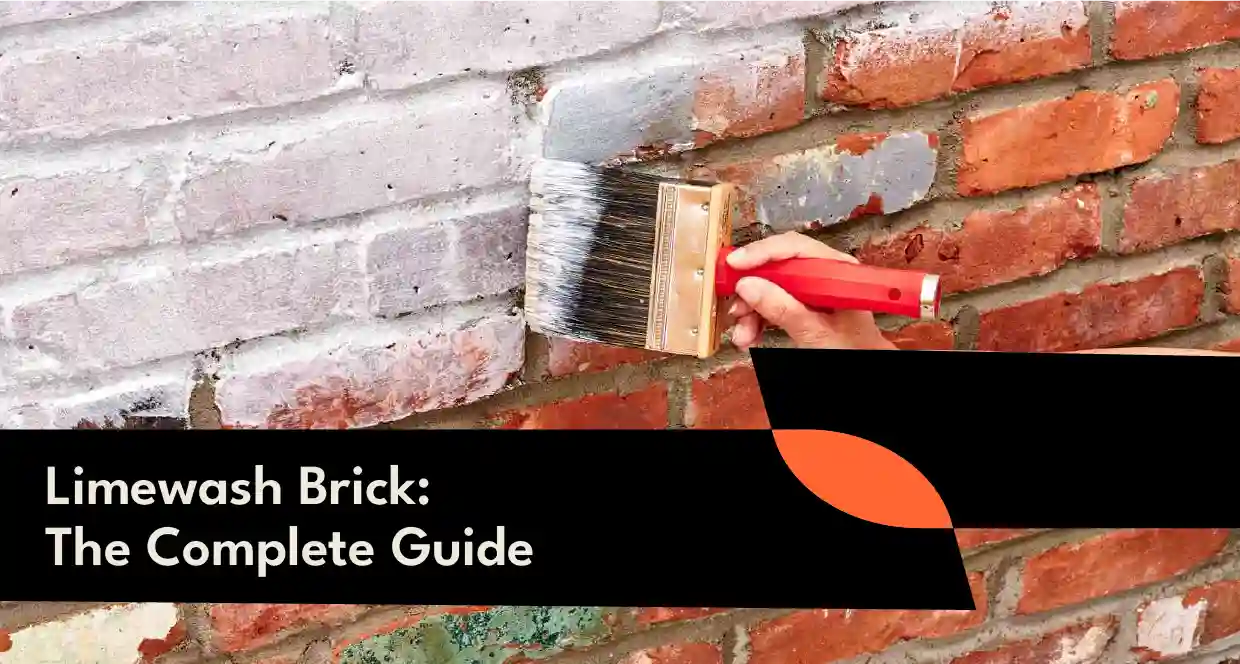
If you’ve scrolled through home renovation content lately, you’ve probably seen it. Soft, chalky, textured brick that looks like it’s been there for a hundred years but somehow still feels fresh and modern. That’s limewash, and it’s easily one of the biggest exterior trends right now.
This guide covers what limewash paint actually is, how it’s different from whitewash and German smear, the pros and cons, how to do it yourself, popular colours, and how much it costs to get done properly.
By the end of this guide, you’ll know exactly what limewash is, how it compares to similar finishes, and whether it’s the right choice for your home.
What is limewash paint?
Limewash is a paint made from limestone, water, and natural pigment. It’s been used for centuries on homes across Europe, and it’s now having a huge moment in Australia thanks to its soft, textured, slightly imperfect look.
Unlike regular paint, limewash doesn’t sit as a solid layer on top of brick. It actually soaks into the surface and reacts with it. This creates a soft, matte finish with natural variation in tone, rather than one flat, uniform colour.
Here’s what makes limewash different from standard paint:
- Breathable finish: Limewash lets brick breathe, which helps prevent moisture problems.
- Natural texture: No two walls look exactly the same, since the finish is never perfectly flat.
- Soft, chalky look: The colour looks a bit weathered and aged, even when freshly applied.
- Long lasting: With proper application, limewash can last many years without peeling like regular paint sometimes does.
Limewash works best on brick, render, and other porous surfaces. It’s not really suited to smooth or previously painted surfaces, since it needs to soak into the material to work properly.
It’s also worth knowing that limewash has a long history in Mediterranean and European architecture. Many of the whitewashed villages you see in places like Greece and Spain actually use a form of limewash. This history is part of what gives limewash its timeless, slightly rustic character, rather than the flat, uniform look of modern paint.
Because it reacts chemically with the brick or render underneath, limewash also tends to soften and mellow over time. Rather than looking worn or tired, most limewashed homes actually look better after a year or two, as the finish settles in and blends further with the surface.
Limewash vs whitewash vs German smear
These three terms get mixed up a lot, but they’re actually quite different techniques.
Limewash is made from natural lime and soaks into the brick. It creates a soft, breathable, textured finish and tends to look the most natural and aged.
Whitewash is usually a thinner, more diluted paint mixture, often made from regular paint mixed with water. It sits more on the surface than limewash and doesn’t have the same breathable, natural qualities. Whitewash brick tends to look a bit more like a light, translucent paint coat rather than a textured limewash finish.
German smear, sometimes called German schmear, uses mortar or a mortar based mixture instead of paint. It’s applied thickly in some areas and thinly in others, then often smeared or textured by hand. This creates a much heavier, more rustic look than limewash or whitewash.
Here’s a simple comparison:
| Method | Material | Look | Coverage |
| Limewash | Lime, water, pigment | Soft, chalky, natural | Even, semi-transparent |
| Whitewash | Diluted paint | Light, translucent | Thin, uneven |
| German smear | Mortar mix | Rustic, textured | Heavy, uneven |
If you want the most natural, breathable finish, limewash is usually the best choice. If you want a heavier, more rustic look, German smear might suit your home better.
Pros and cons of limewashing brick
Like any exterior finish, limewash has upsides and downsides worth knowing before you commit.
Pros:
- Breathable: Helps prevent moisture buildup behind the brick.
- Unique look: No two walls look exactly alike, giving your home real character.
- Softens harsh brick colours: Great for updating dated red or orange brick.
- Long lasting: A properly applied limewash finish can last for years.
- Low maintenance: Doesn’t peel or flake the way regular paint sometimes does.
Cons:
- Hard to remove: Once applied, limewash is very difficult to fully strip back off brick.
- Requires the right surface: Doesn’t work well on smooth, painted, or non-porous surfaces.
- Colour can be less predictable: Since it reacts with the brick, results can vary slightly from your test patch.
- Needs proper application: A rushed or incorrect job can look patchy rather than intentional.
If you’re on the fence, it’s worth looking at a few limewash brick before and after photos online. This gives you a realistic sense of how dramatic the transformation can be, and helps set expectations for your own home.
It’s also worth chatting to your neighbours or local council if your home is in a heritage area. Some older suburbs have restrictions on exterior finishes, and it’s better to check before starting a limewash project rather than after. This is especially true for homes with heritage listed brickwork.
Weighing up the pros and cons properly before you start can save a lot of second guessing later. Limewash isn’t the right choice for every home, but for the right brick and the right homeowner, it can completely transform a tired exterior into something that feels intentional and full of character.
How to limewash brick step by step
If you’re keen to give it a go yourself, here’s a simple step by step process. Keep in mind that limewashing does take some practice, so it’s worth testing on a small, hidden section first.
- Clean the brick thoroughly: Remove dirt, dust, and any loose material. A pressure washer works well here.
- Let the brick dry completely: Limewash needs a dry surface to bond properly.
- Mix your limewash: Follow the product instructions carefully, since ratios affect the final texture.
- Test on a small area: Try a hidden section first to check the colour and texture before doing the whole wall.
- Apply with a large brush: Work in sections, using a stiff brush to push the limewash into the brick and mortar.
- Blend as you go: Use a slightly damp brush or rag to soften edges and blend sections together.
- Let it dry: Limewash usually needs at least 24 hours to dry before you can judge the true colour.
- Add a second coat if needed: Some homeowners prefer one thin coat, others prefer two for more solid coverage.
Weather matters a lot here. Avoid limewashing on extremely hot, windy, or rainy days, since this can affect how the limewash bonds to the brick.
Best limewash colours
While white is the most classic limewash colour, it’s far from the only option. Limewash paint bunnings and other hardware stores stock offer a growing range of tints and pre-mixed colours.
Popular limewash colours right now include:
- Classic white: The most traditional and popular choice, giving brick a soft, aged look.
- Warm cream: A softer alternative to stark white, especially for homes with warm toned brick.
- Soft grey: A modern option that works well with black window frames and trims.
- Greige: A blend of grey and beige that suits a wide range of home styles.
The colour of your existing brick also affects the final result. Red brick tends to show through a white limewash slightly, creating a soft pink or warm undertone. Grey or tan brick tends to give a cleaner, more neutral final colour.
How much does limewashing brick cost?
Limewash brick cost depends on a few factors, including the size of your home, the condition of the existing brick, and whether you’re doing one coat or two.
Here’s what typically affects the price:
- Size of the area: Larger homes naturally cost more due to the amount of material and labour needed.
- Brick condition: Brick that needs extra cleaning or repair work before limewashing will add to the cost.
- Number of coats: A single coat is cheaper than a full two coat application.
- Access: Homes with tricky access, like multiple storeys, may cost more due to extra equipment needed.
While DIY limewash kits are available, getting a professional painter involved usually gives a much more even, polished result. Limewashing takes a bit of a knack to get the blending and texture right, and mistakes can be tricky to fix afterwards.
Want it done properly? Get a free quote and let our team handle your limewash project from start to finish. Book an Appointment.
Frequently asked questions (FAQs)
Is limewash the same as whitewash?
No. Limewash is made from natural lime and soaks into the brick, creating a breathable, textured finish. Whitewash is usually a diluted paint that sits more on the surface.
Does limewash brick last?
Yes, when applied properly, limewash can last many years without peeling or flaking away. It may soften slightly over time, giving it an even more natural, weathered look.
Can I limewash over previously painted brick?
It’s not recommended. Limewash needs a porous surface to bond properly, so previously painted brick isn’t a good candidate for this finish.
Is limewash brick a passing trend?
While it’s very popular right now, limewash has actually been used on homes for centuries. Its timeless, natural look suggests it’s more of a long term style than a passing fad.
Can I remove limewash if I don’t like it?
It’s very difficult to fully remove. Since limewash soaks into the brick, it can’t simply be washed or scraped off like regular paint, so it’s worth committing to the look before you start.
Do I need to seal limewash brick?
Some homeowners choose to seal their limewash for extra protection, though many prefer to leave it unsealed for a more natural, breathable finish. It depends on your local climate and preference.
How long does a limewash project take?
This depends on the size of your home and the number of coats needed, but most homes take a few days from cleaning through to a final dry coat. Weather can also affect the timeline, since limewash needs the right conditions to bond properly.
Ready to transform your brick exterior? Check out our painting services and let our team give your home that soft, timeless limewash look it deserves.