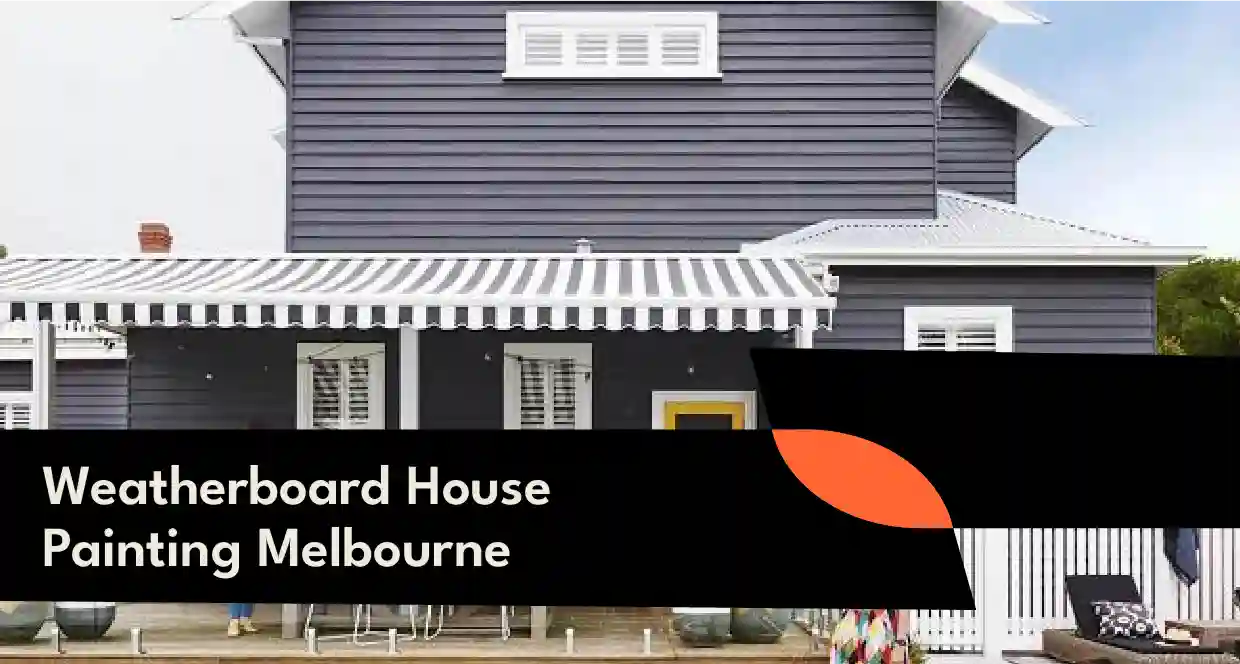
If you’re planning weatherboard house painting in Melbourne, you already know these homes need more care than brick or render. Weatherboards move with the weather. They expand, contract, and take a beating from sun and rain every year. Get the prep wrong and paint peels within a couple of seasons. Get it right, and you can go a decade or more without touching it up again.
Let’s discuss the whole process, from checking for rot to picking a colour that suits your street.
Why Weatherboards Need a Different Approach
Timber isn’t like brick or concrete. It breathes. It swells when it’s humid and shrinks when it dries out, so the paint film has to flex with it. That’s why weatherboard painting calls for different products and prep than a rendered wall. Skip this step, and you’ll see cracking along the board joints within a year or two. Melbourne’s swings between hot dry spells and sudden rain make this worse, so timber homes here need a paint system built for movement, not just colour.
Inspection First: Rot, Cracks & Failing Boards
Before any paint goes near the house, walk the exterior and check every board. Look under window sills, around downpipes, and near ground level, since these spots hold moisture longest. A few things to check for:
- Soft or spongy timber (a sign of rot underneath)
- Cracked or split boards
- Nail heads popping out
- Gaps where boards have pulled away from the frame
Any rotten sections need replacing before you paint. Painting over rot just hides the problem, and it keeps spreading underneath.
The Lead Paint Question (Pre-1970 Homes)
If your home was built or last painted before 1970, there’s a real chance the old paint contains lead. Sanding or scraping it without care can release dust that’s harmful to breathe in, especially for kids and pregnant women. Lead paint pre-1970 safety isn’t something to guess at. Wet sanding, proper containment, and safe disposal all matter here. If you’re unsure, it’s worth getting the paint tested before prep work starts, or leaving that part to a painter who knows how to handle it safely.
Prep: Washing, Sanding, Repairs, Priming
Good prep is what makes a paint job last. Rushing this stage is the most common reason exterior paint fails early. Here’s the general order:
- Wash the whole exterior to remove dirt, mould, and chalky old paint.
- Scrape off any loose or flaking paint.
- Sand back rough edges so the surface is smooth.
- Repair or replace damaged boards and fill any gaps or nail holes.
- Spot prime bare timber before the topcoat goes on.
Skipping the primer is a common shortcut that costs homeowners later. Bare timber soaks up moisture, and paint applied straight over it won’t bond properly.
The Best Exterior Paints for Timber Weatherboards
There’s an ongoing debate between oil-based vs acrylic on timber, and honestly, both have a place. Oil-based paint gives a hard, smooth finish and can be a good pick for older weatherboards with a rougher surface. Acrylic paint flexes more with the timber and resists cracking better over time, which suits Melbourne’s shifting weather. Most modern exterior jobs here use a quality acrylic topcoat over an oil-based primer, giving you flexibility on top and strong adhesion underneath. Whatever you choose, a proper primer system matters more than the brand name on the tin.
[Own a weatherboard? Get a free quote today.]
Colour Ideas: Heritage & Modern Weatherboard Palettes
Weatherboard homes suit a wide range of looks, from muted heritage tones to sharper modern schemes. Federation and Victorian-era homes often carry exterior heritage house colours like soft creams, olive greens, and deep reds on the trim. These shades were common for a reason. They hold their tone well and suit the timber grain.
If your place leans more modern, lighter greys, off-whites, and charcoal trims are popular right now. Coastal-style weatherboards also do well in soft blues paired with white trim, which works nicely in bayside suburbs. For a deeper look at exterior house colours Australia-wide, plus interior picks too, check our guide to the best paint colours for Australian homes. It covers both modern exterior house colours Australia trends and classic combinations in more detail.
Our Weatherboard Painting Process, Step by Step
Every job follows roughly the same path, though timing varies with the size and condition of the home:
| Stage | What happens |
| Inspection | We check every board for rot, cracks, and old lead paint |
| Wash and scrape | Full exterior clean, loose paint removed |
| Repairs | Damaged boards replaced, gaps filled |
| Sand and prime | Surfaces smoothed, bare timber sealed |
| Topcoat | Two coats of quality exterior paint applied |
| Final check | Touch-ups and a walk-through with you |
We keep you in the loop at each stage, so there are no surprises halfway through.
How Long the Job Takes
A standard weatherboard home usually takes three to five days from start to finish. Larger or older homes with more repair work can take longer, sometimes up to a week or more. Weather plays a part too, since paint needs the right conditions to cure properly. We’ll give you a realistic timeline once we’ve seen the property.
Weatherboard Painting Cost in Melbourne
Costs vary depending on the size of the house, how much repair work is needed, and the paint system you choose. Homes with rot damage or old lead paint will cost more to prep properly, but that upfront work is what makes the finish last. For a broader breakdown of pricing across different job types, have a look at our guide on house painting cost in Melbourne. Once we’ve inspected your property, we’ll give you a firm number, not a rough guess.
Maintenance: Making the Paint Last 10+ Years
A well-prepped and well-painted weatherboard home should hold up for a good while. Most painters work on a repaint cycle of 8-12 years, though it depends on sun exposure and how exposed the home is to weather. A few habits help stretch that further:
- Hose down the exterior once or twice a year to clear dust and grime
- Check gutters so water isn’t splashing back onto the boards
- Touch up small chips before they spread
- Keep an eye on shaded, damp corners for early signs of mould
For more on how often different homes need a repaint, our post on how often to repaint your home breaks it down by exposure and climate.
Suburbs We Paint
We work on weatherboard homes right across Melbourne’s inner north and inner west, along with plenty of the leafy east. That includes Footscray, Maribyrnong, Moonee Ponds, Brunswick, Parkville, Hawthorn, Richmond, and Camberwell, plus surrounding suburbs. If your suburb isn’t listed here, get in touch anyway. We cover a wider area than this list shows.
If you’re also planning updates inside the house, our feature wall ideas guide has some good starting points for living rooms and hallways.
FAQs About Weatherboard Painting
How much does it cost to paint a weatherboard house?
It depends on the size of the home and how much repair work is needed. Get an on-site quote for an accurate figure.
How often should weatherboards be repainted?
Most homes need repainting every 8 to 12 years, though sun-facing walls may need attention sooner.
What is the best paint for weatherboard houses?
A flexible, UV-resistant acrylic topcoat over a proper primer generally performs best in Melbourne conditions.
Do I need to remove old paint from weatherboards?
Only where it’s flaking, cracked, or failing a tape test. Sound paint can usually be sanded and painted over.
Can weatherboards be spray painted?
Yes, spraying can give a smooth, even finish, though brushing and rolling is still common for touch-ups and detail work.
What colours suit weatherboard houses?
It depends on the era and style. Heritage homes suit muted, traditional tones, while newer homes can handle bolder modern palettes.
For technical detail on surface prep, Dulux’s guide to painting weatherboards is a solid reference alongside working with a local painter who knows Melbourne’s conditions.
Ready to give your weatherboard home a fresh coat? Book an appointment or call us on 0478 720 771.